
How to Use DVD Screensaver Maker
DVD Screensaver Maker is a browser-based bouncing DVD logo simulator. Customise all of it — colours, speed, size, and what actually bounces — then export the result as a standalone HTML file, a GIF, or an MP4 or WebM video. No signup, no watermark, completely free.
It is built to need no instructions: open it and a logo is already moving. But there is more behind that first screen than it lets on, and a few controls behave in ways that only make sense in hindsight. This page goes through all of them.
The place to start is the screen itself. Everything you will touch sits in one of four regions, and learning their names makes the rest of this guide much quicker to follow.
The App Layout
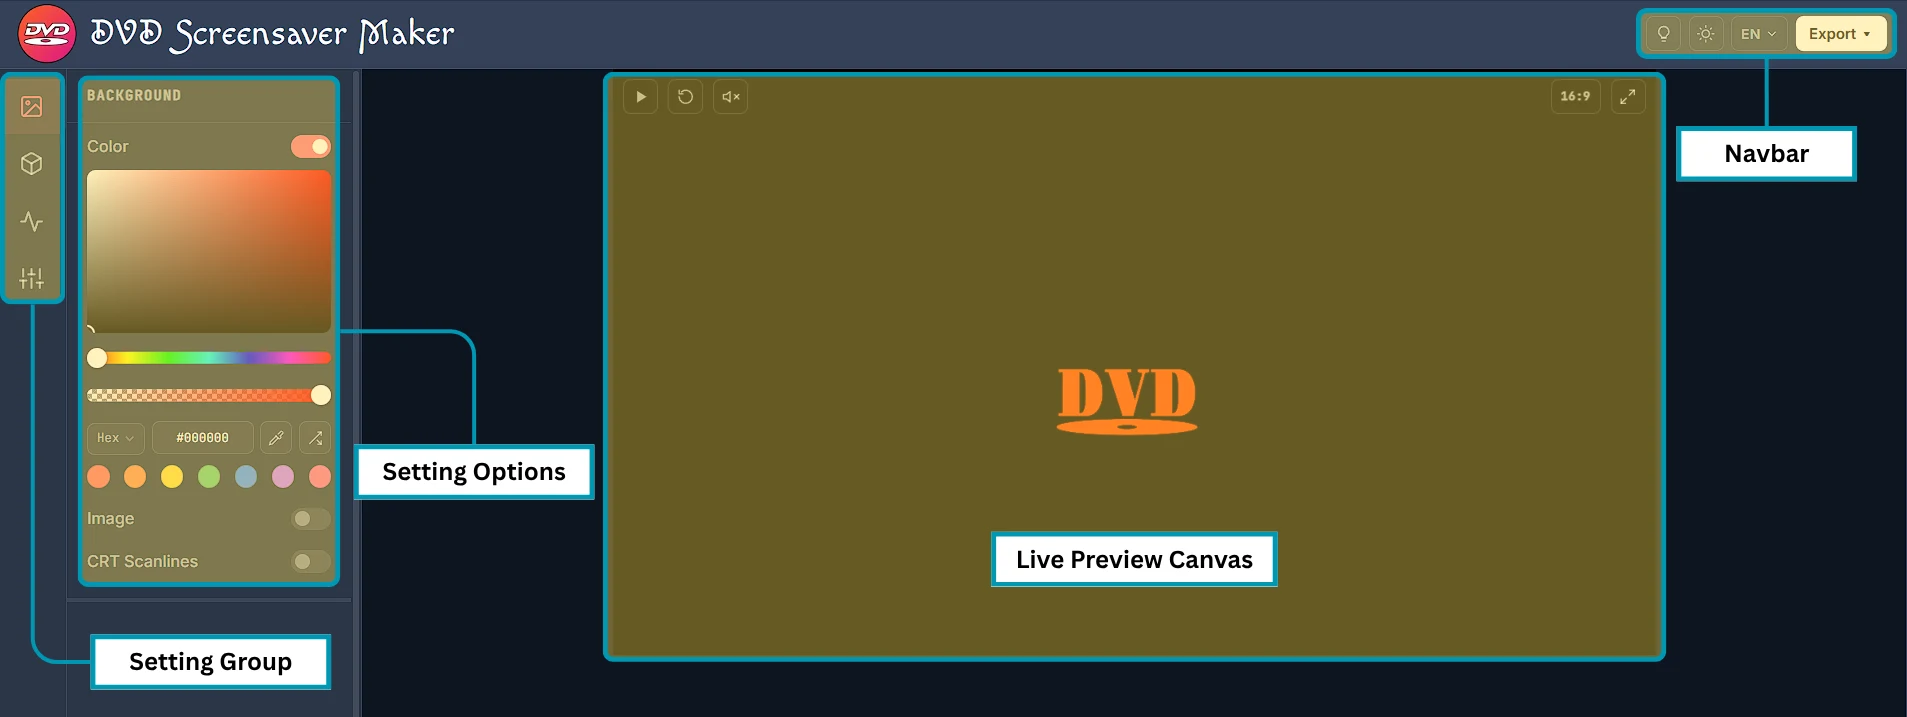
- Navbar — top right of every page. Guides, theme, language, and the Export button that produces your file.
- Setting Group — the icon rail down the left edge. Four groups: Background, Asset, Animation and Presets. Clicking one changes what appears beside it.
- Setting Options — the panel itself, holding the controls for whichever group is currently selected. It is the only part of the screen that changes as you move between groups.
- Live Preview Canvas — the running screensaver. Every change lands here the instant you make it, so there is no preview button and nothing to apply.
The Navbar Controls
Four controls sit at the top right of every page, above the canvas. Two of them change what you see, one changes the language, and one is how you get your file out.
| Button | Description | Picture |
|---|---|---|
| Guides | The lightbulb icon opens a short menu of guides. More at the bottom leads to the full list. | 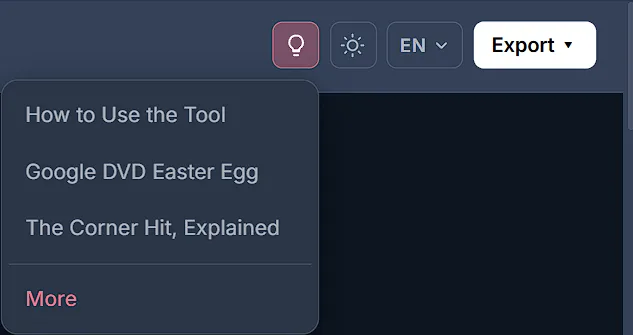 |
| Theme | The sun and moon button switches between the dark and light theme. The icon shows the theme you will switch to rather than the one you are already in, so a moon means clicking takes you to dark. Pressing D does the same thing. |   |
| Language | The language button switches the whole site between 14 languages, keeping you on the page you were reading. Every language has its own address, which means a link such as /fr/ can be shared directly. | 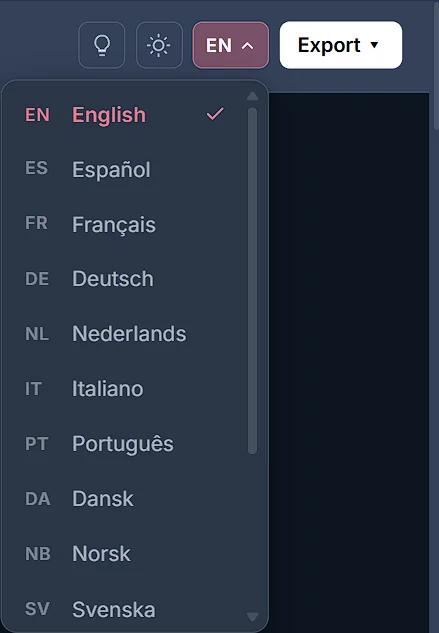 |
| Export | The Export button opens the export menu: Save as HTML, Download GIF, Download WebM and Download MP4. | 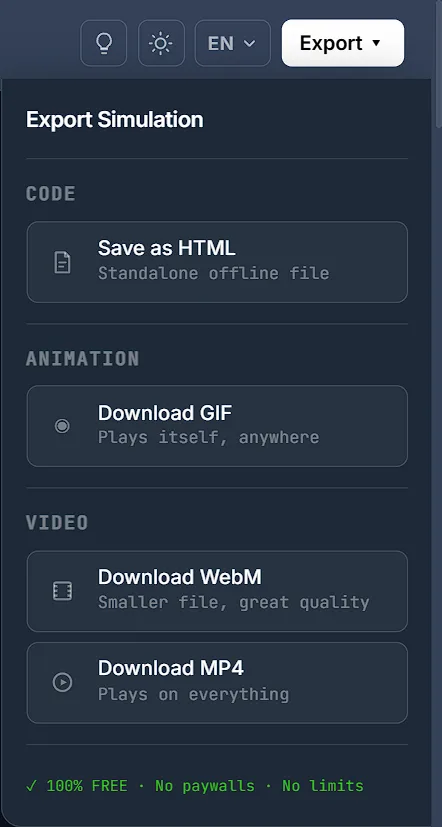 |
The Canvas Controls
Five buttons sit on the canvas itself: three at the top left, two at the top right. Each has a keyboard shortcut, and every shortcut is ignored while your cursor is in a text field.

| Button | Description | Keyboard |
|---|---|---|
| Play / Pause | Freezes the animation where it is. | Space |
| Reset | Relaunches every logo from a fresh position and direction. | R |
| Sound | Off by default. Ticks on every wall hit. | M |
| Aspect Ratio | Cycles 16:9, 9:16 and 1:1. Does nothing while in full screen. | A |
| Full Screen | Fills the browser window. | F · Esc |
Aspect ratio sets the shape of the exported file. 16:9 for a monitor, 9:16 for a phone, 1:1 for a feed post. Set it before you export — changing it afterwards means generating the file again. Every export dialog shows the current ratio in its YOUR SETTINGS summary.
Sound decides whether the export has audio. With it on, MP4 and WebM get a real audio track of the bounce ticks, and the standalone HTML file plays the same beeps. GIF cannot carry audio at all, so a GIF is silent either way.
Background Settings
The first Setting Group. Three options, each with its own toggle — and each one reveals its controls only once it is switched on.
| Picture | Description |
|---|---|
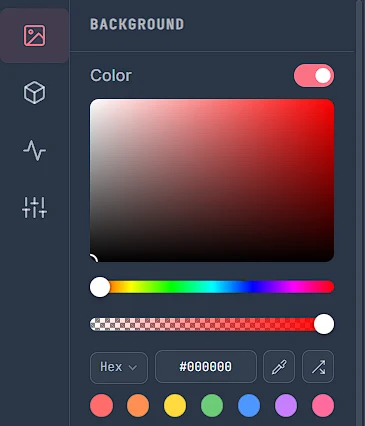 | Color — sets the background colour, top to bottom:
|
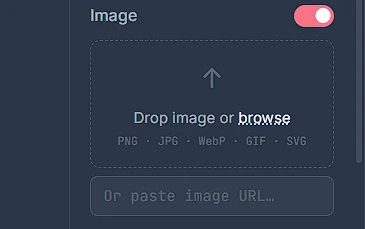 | Image — puts a picture behind the animation instead of a colour. Switch it on and the drop zone appears:
|
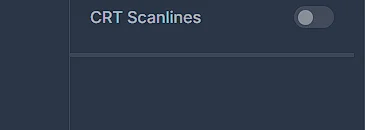 | CRT Scanlines — fine horizontal lines laid over the whole canvas for the old-television look. Off by default. It suits a nostalgic look and works against a clean corporate one. |
The two toggles work together, in this order: the colour is painted first, then the image goes on top of it. Two things follow from that.
- Turn both off for a truly transparent background. Nothing is painted at all, so whatever sits behind the screensaver shows through — which is what an overlay needs.
- Turn both on to tint an image. Because the colour is underneath, pulling the image’s Opacity slider down lets that colour bleed through the picture.
Asset Settings
This Setting Group decides what bounces. Choose one of three modes at the top, then set its size and colour with the controls below. Those controls stay the same in all three modes.
| Default | Text | Image |
|---|---|---|
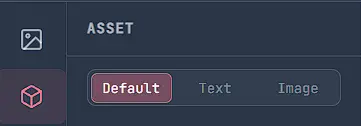 | 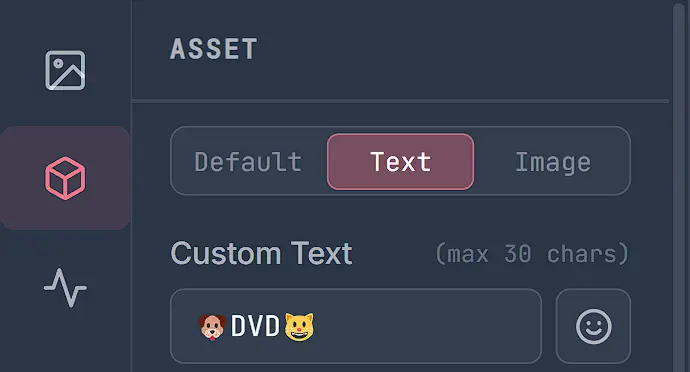 | 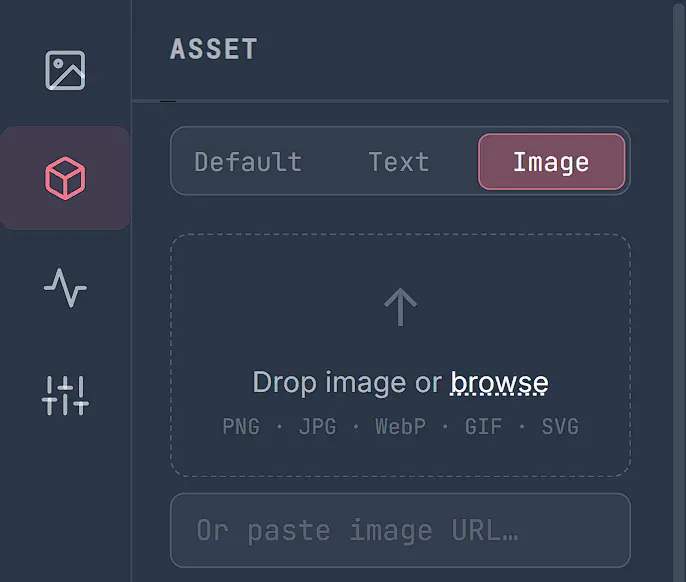 |
| The classic DVD mark. Nothing to set up — select it and it bounces. | Your own words, up to 30 characters. The button beside the field opens an emoji picker, so an emoji on its own works as an asset too. | Your own artwork. Drop a file, browse for one, or paste an image URL. PNG, JPG, WebP, GIF and SVG all work. A JPG has no transparency, so it bounces as a rectangle with its background attached. PNG, WebP, GIF and SVG can all be transparent, which lets the logo bounce on its own. |
Below the mode switcher sit the controls that apply to all three.
| Picture | Description |
|---|---|
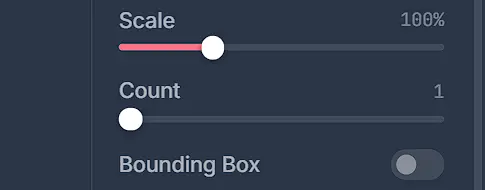 | Size and how many
|
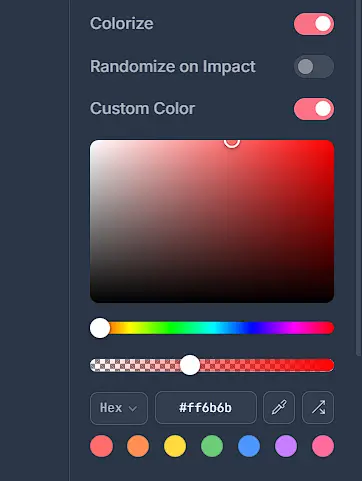 | Colour
|
Colorize works differently depending on the mode.
- Default and Text — Colorize is locked on and cannot be switched off. Both are drawn as a single flat shape, which would be invisible without a colour filling it. What you can still choose is where that colour comes from: Randomize on Impact or Custom Color.
- Image — You can switch Colorize on or off. Switched off, nothing is laid over your artwork and it keeps its own colours. Switched on, you choose between Randomize on Impact and Custom Color as above.
Randomize on Impact and Custom Color are one either/or switch, not two independent ones: turning either on turns the other off, and the colour picker only appears on the Custom Color side.
Animation Settings
This Setting Group decides how the asset moves. Three controls, and the first of them affects your exported file as much as the preview.
| Picture | Description |
|---|---|
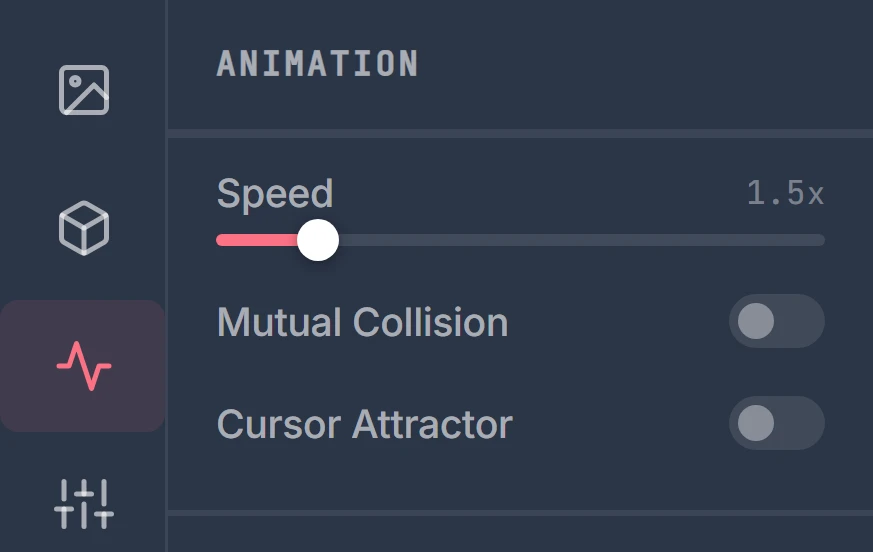 |
|
Preset Settings
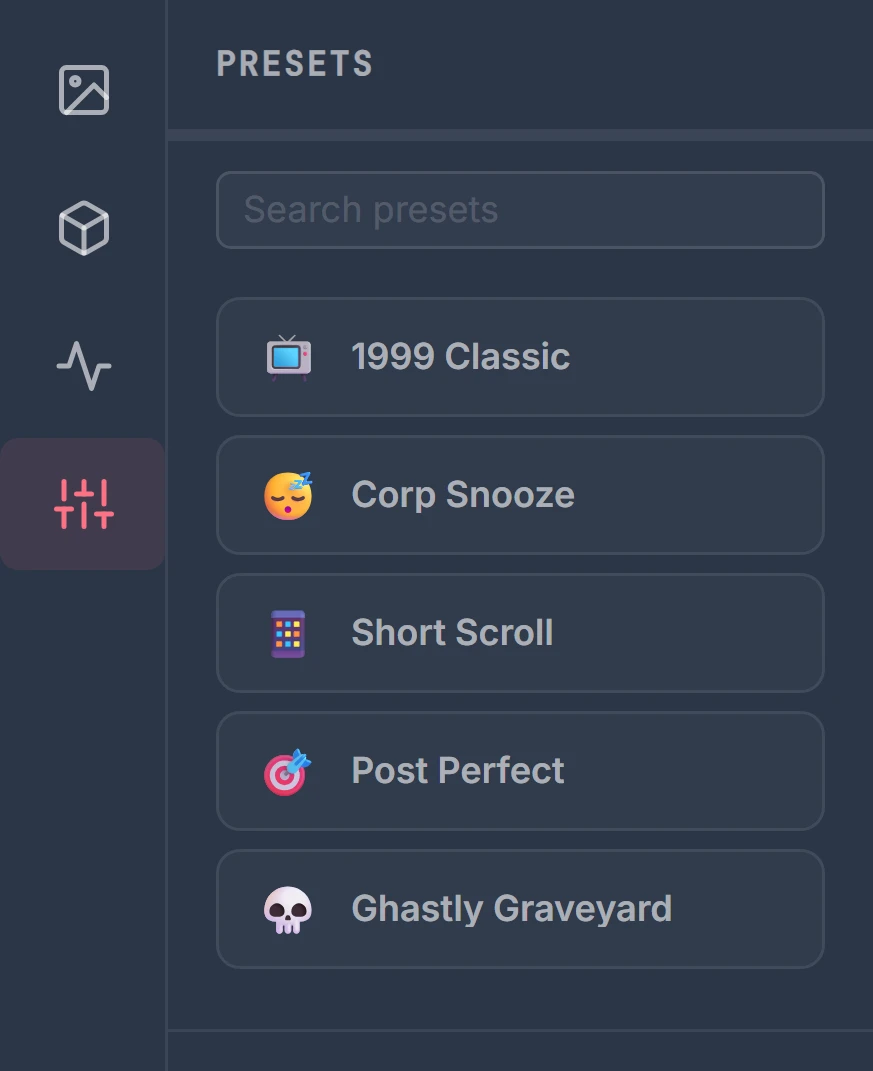
The last Setting Group, and the only one that changes all the others. A preset sets every control in Background, Asset and Animation in a single click, which makes it both a shortcut and a way to see how a particular look was assembled.
| Picture | Description |
|---|---|
 |
|
Each one is a complete configuration. Two of them are named for the shape they produce rather than the look, which is worth knowing when you are picking one for a particular platform.
| Preset | What it sets |
|---|---|
| 1999 Classic | 16:9, CRT scanlines on, one DVD logo at full size, speed 1.5x. The original, as faithfully as the tool does it. |
| Corp Snooze | 16:9 on black, the word SYNERGY four times over at 0.8 size, bounding boxes visible, mutual collision on, slowed to 0.8x. |
| Short Scroll | 9:16 vertical — the phone and Story shape. Image mode, two of them at 1.4 size, speed 1.8x. |
| Post Perfect | 1:1 square — the feed-post shape. Three DVD logos at 0.65 size, mutual collision on, speed 1.8x. |
| Ghastly Graveyard | 16:9 on black, CRT on, five skull emoji at 1.65 size, speed 1.8x. |
A preset clears any image you have uploaded. Loading one resets the asset image, the background image and every colour setting before it applies its own — so upload your logo after choosing a preset, never before.
This catches people on Short Scroll in particular. It selects Image mode but wipes the image in the same action, so it starts out bouncing the default DVD logo. That is the fallback whenever Image mode has no image loaded, not a fault — add yours and it takes over.
Which Export Should You Pick?
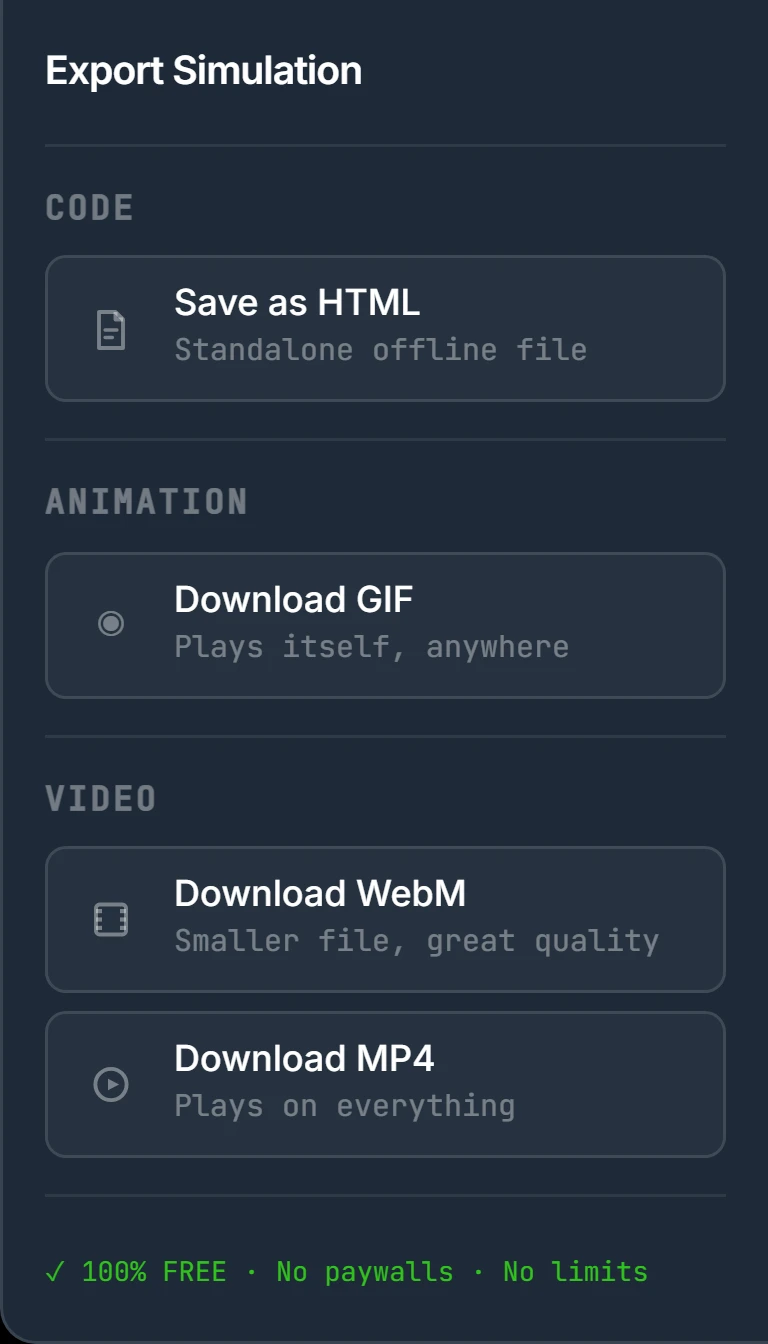
Four formats, grouped into Code, Animation and Video. The right one depends entirely on where the file is going.
| Picture | Description |
|---|---|
 |
|
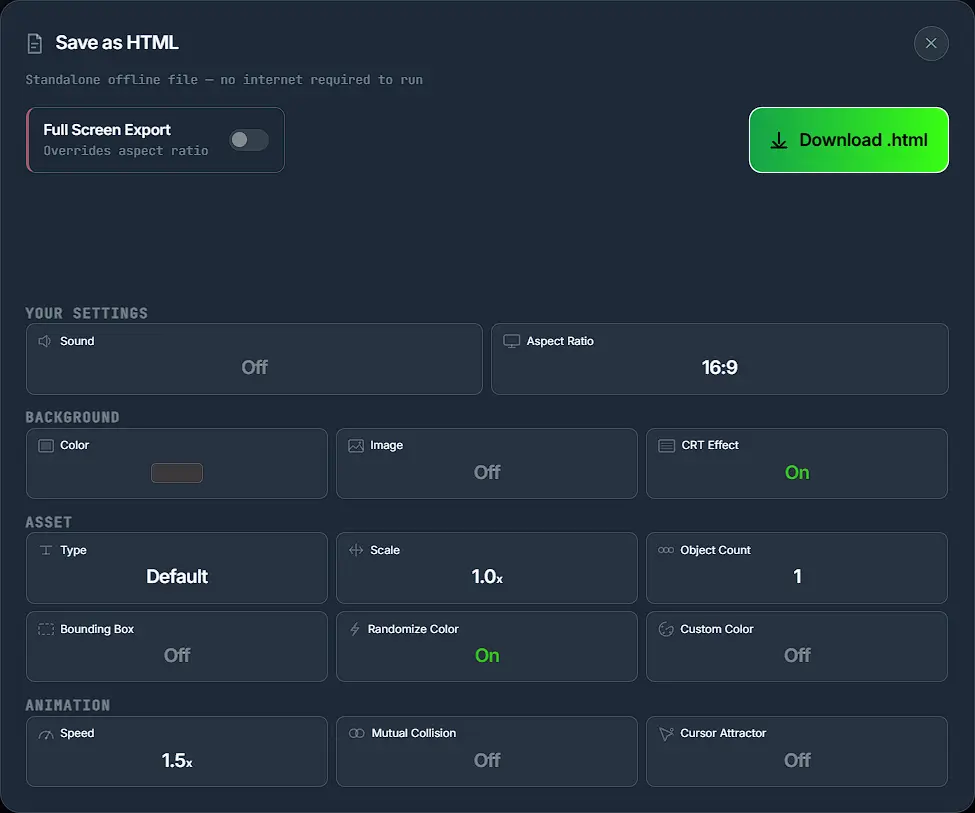
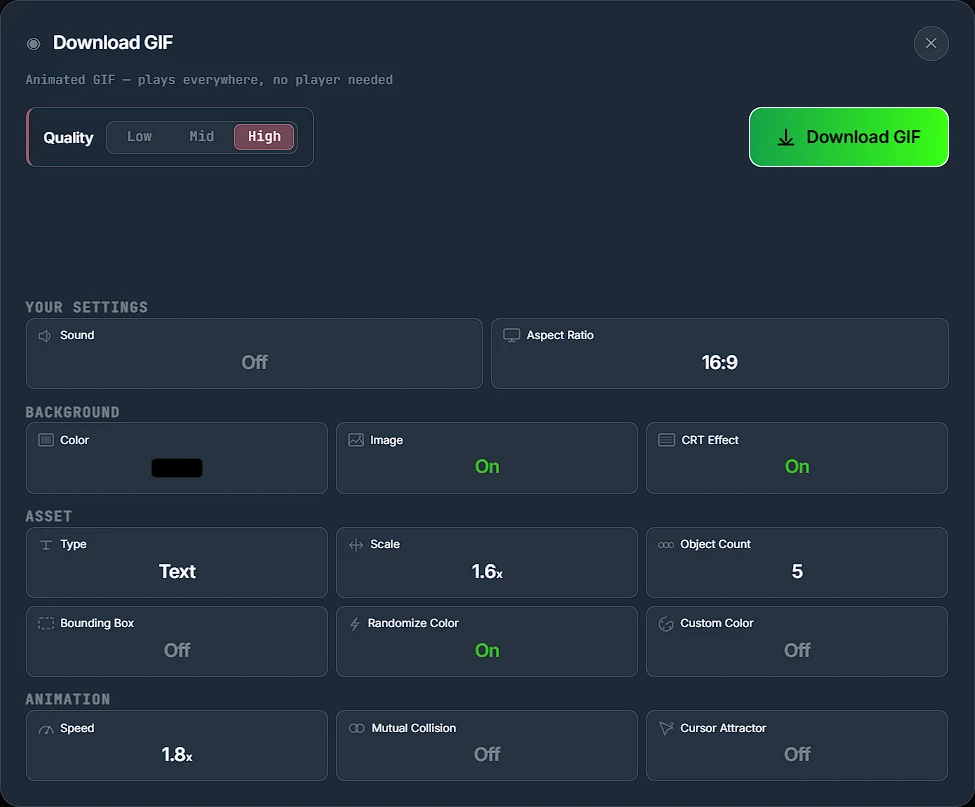
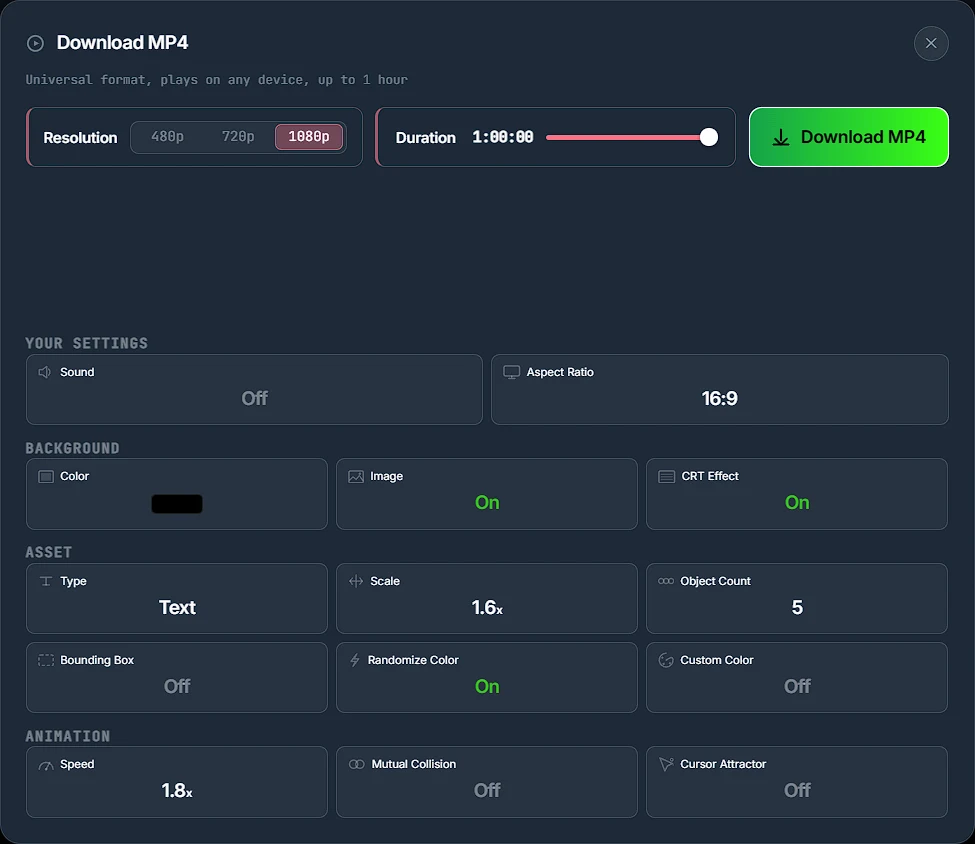
Whichever you choose, the dialog that opens has its own options at the top and a read-only summary of your settings underneath.
Export Option: Save As HTML
| Picture | Description |
|---|---|
 |
|
Export Option: Download GIF
| Picture | Description |
|---|---|
 |
|
The three quality steps differ in two ways, and the frame rate is not one of them:
| Quality | Longest edge | Length | Frame rate |
|---|---|---|---|
| Low | 480 px | 15 seconds | 24 fps |
| Mid | 720 px | 20 seconds | 24 fps |
| High | 1280 px | 30 seconds | 24 fps |
All three record at 24 frames per second, so moving up a step does not make the animation smoother — it makes the picture bigger and the loop longer. At 16:9 that works out as 480 × 270, 720 × 405 and 1280 × 720. A GIF stores every frame as a whole image, so High is 720 frames at 1280 px wide and the file gets large quickly. If you are posting it somewhere with an upload limit, start at Low.
Export Option: Download WebM and MP4
Both video formats share one dialog. Only the title, the button and the file extension change between them.
| Picture | Description |
|---|---|
 |
|
Resolution names the short edge, so the frame you actually get depends on the aspect ratio you set on the canvas:
| Resolution | 16:9 | 9:16 | 1:1 |
|---|---|---|---|
| 480p | 854 × 480 | 480 × 854 | 480 × 480 |
| 720p | 1280 × 720 | 720 × 1280 | 720 × 720 |
| 1080p | 1920 × 1080 | 1080 × 1920 | 1080 × 1080 |
Video records at 24 frames per second as well, exactly like GIF. Resolution and length are the only things these two controls change.
WebM is the smaller file at every step. The same footage is encoded at a lower bitrate than MP4 — 5.2 against 6.4 Mbps at 1080p — so choose WebM when file size matters and MP4 when compatibility does.
The slow-export warning only appears for MP4. It shows when your machine has no hardware H.264 encoder and you have picked 720p or 1080p. WebM never shows it and neither does 480p. It is not an error: the export still works, it just takes longer, because the encoding happens on your machine rather than on a server.
Things That Trip People Up
- Sound is off
Deliberately. The speaker button on the canvas turns on a tick at every wall bounce.
- Set the ratio first
The aspect badge sets the shape of the exported file, not just the preview. Changing it afterwards means exporting again.
- Use a transparent PNG
A JPG cannot be transparent, so it bounces as a rectangle with its background attached.
- Colorize is locked
On Default and Text only. Switch to Image and it unlocks.
- Mutual Collision needs company
It does nothing at all while Count is 1.
- Full Screen beats aspect
Ticking it in the HTML dialog discards the ratio you chose.
One Thing It Will Not Do
It will not reliably give you a corner hit on demand.
Each logo here launches at a random angle between 25° and 65°, not the fixed 45° of the original DVD players. That keeps the paths varied and the animation better-looking, but it also means corner hits happen on their own terms rather than on the clean schedule the classic screensaver followed. If the corner is what you are actually here for, the maths behind it — and why some setups can never produce one — is its own subject.
Frequently Asked Questions
How do I make a bouncing DVD logo?
Open the site and it is already running — there is nothing to start. Pick a preset from the Presets tab if you want a look in one click, or change the logo, colours and speed yourself in the other three tabs. When it looks right, use Export in the top right and choose GIF, MP4, WebM or a standalone HTML file. No account and no sign-up at any point.
How do I use my own logo instead of the DVD one?
Open the Asset tab, choose Image, then drop a file on the upload box, browse for one, or paste an image URL. PNG, JPG, WebP, GIF and SVG all work. Use a PNG or SVG with a transparent background if you do not want a rectangle around your logo. Leave Colorize off to keep your image in its real colours.
Why can I not turn Colorize off?
Because you are on Default or Text. Both are drawn in a single flat colour, so colouring is what makes them visible and the toggle is locked on. It becomes available as soon as you switch to Image, where your own artwork already has colours of its own.
Which export format should I pick?
GIF for anywhere that will not play a video — chat, docs, slides. MP4 when it must play on anything at all. WebM for a smaller file at the same quality, on the web. And the standalone HTML file when you want it running on a screen indefinitely with no player and no internet connection.
Is DVD Screensaver Maker free?
Yes — every format, every resolution, no watermark, no account and no export limit. The whole simulation and every export run inside your own browser, so an image you upload is processed on your machine and is never sent anywhere.
Can I make the screensaver full screen?
Yes. The expand button at the top right of the canvas fills the browser window, or press F. To make an exported file full screen instead, tick Full Screen Export in the Save as HTML dialog — that overrides whatever aspect ratio you had set.


